Table of Contents
How to Organize your Travel Photos
When I go on vacation I bring my DSLR camera and of course use my cell phone for photos here and there. When I get back from vacation, it can take me quite some time to start editing my photos, but that is because I am a professional photographer and I am already editing client photos. But, when I do make the time to edit my travel photos, I have a couple of systems in place to keep things running smoothly. How to organize your travel photos is fairly simple using folders within the camera itself and then naming and saving the images to folders with detailed names.
Folders in Camera
Before I even start taking photos each day, I create a new folder in my DSLR camera just for that day. It doesn’t matter what the name of the folder is, because I can just look at the date of the images when I return from my trip. When I get home, I import all of the folders in the camera to Lightroom.
On a Canon 5D Mark IV, you can click Menu, and go to the wrench icon (SET UP 1), and select the first option which is “Record func+card/folder sel.” Then select “Folder,” and then “Create folder” and press the Set button for OK. It will say, Create folder 101, or so on and then you select OK. Each day on my vacation I set up a new folder and my photos for the day land in there.
Edit One Day of Photos at a Time
If you are like me, you might take hundreds of travel photos a day, so editing thousands in one sitting would be overwhelming. So I like to break up the work in chunks. I also like to take breaks from editing every so often, even if the day only had a few hundred photos. Sometimes that means I edit 100 photos and then get up and walk around for a couple of minutes, or take a drink of water and stop staring at the computer screen for a minute.
Too much consecutive screen time can be hard on your eyes, so blink, close your eyes, or take a break. Another thing I might do is edit for a set amount of time, such as 20 minutes, and then take a two minute break and come back to it.
When I do extensive editing for newborn galleries, I usually edit 5 images in a row, and take a 5 minute break. Repeat. This keeps me most productive and gives my eyes a rest.
Culling Photos
Culling means to select the best photos to edit. Think about it, do you want to print two identical photos? Probably not. Most likely if you shoot in manual mode, sometimes your lighting scenario changes and your first photo turns out slightly over or underexposed, so you adjust your camera settings. Then the second image you take is properly exposed, so of course that’s the image you keep.
Culling will be the process of eliminating duplicates, eyeblinks, blurry, overexposed, underexposed, or just unwanted images. I eliminate photos by NOT selecting them in Lightroom. I “pick” the images I keep. So I use the “P” on the keyboard to select each image I keep. Then I go through again and use the “U” to un-pick the ones I eliminate the 2nd round.
Editing RAW Photos
After culling the images, I now edit them. I will adjust white balance, exposure, contrast, highlights, shadows and so forth, in Lightroom. If I make all adjustments and still need to perfect an image, I might create a mask to bring back on overexposed sky or bring up the shadows on a person’s face.
Naming and Exporting Photos
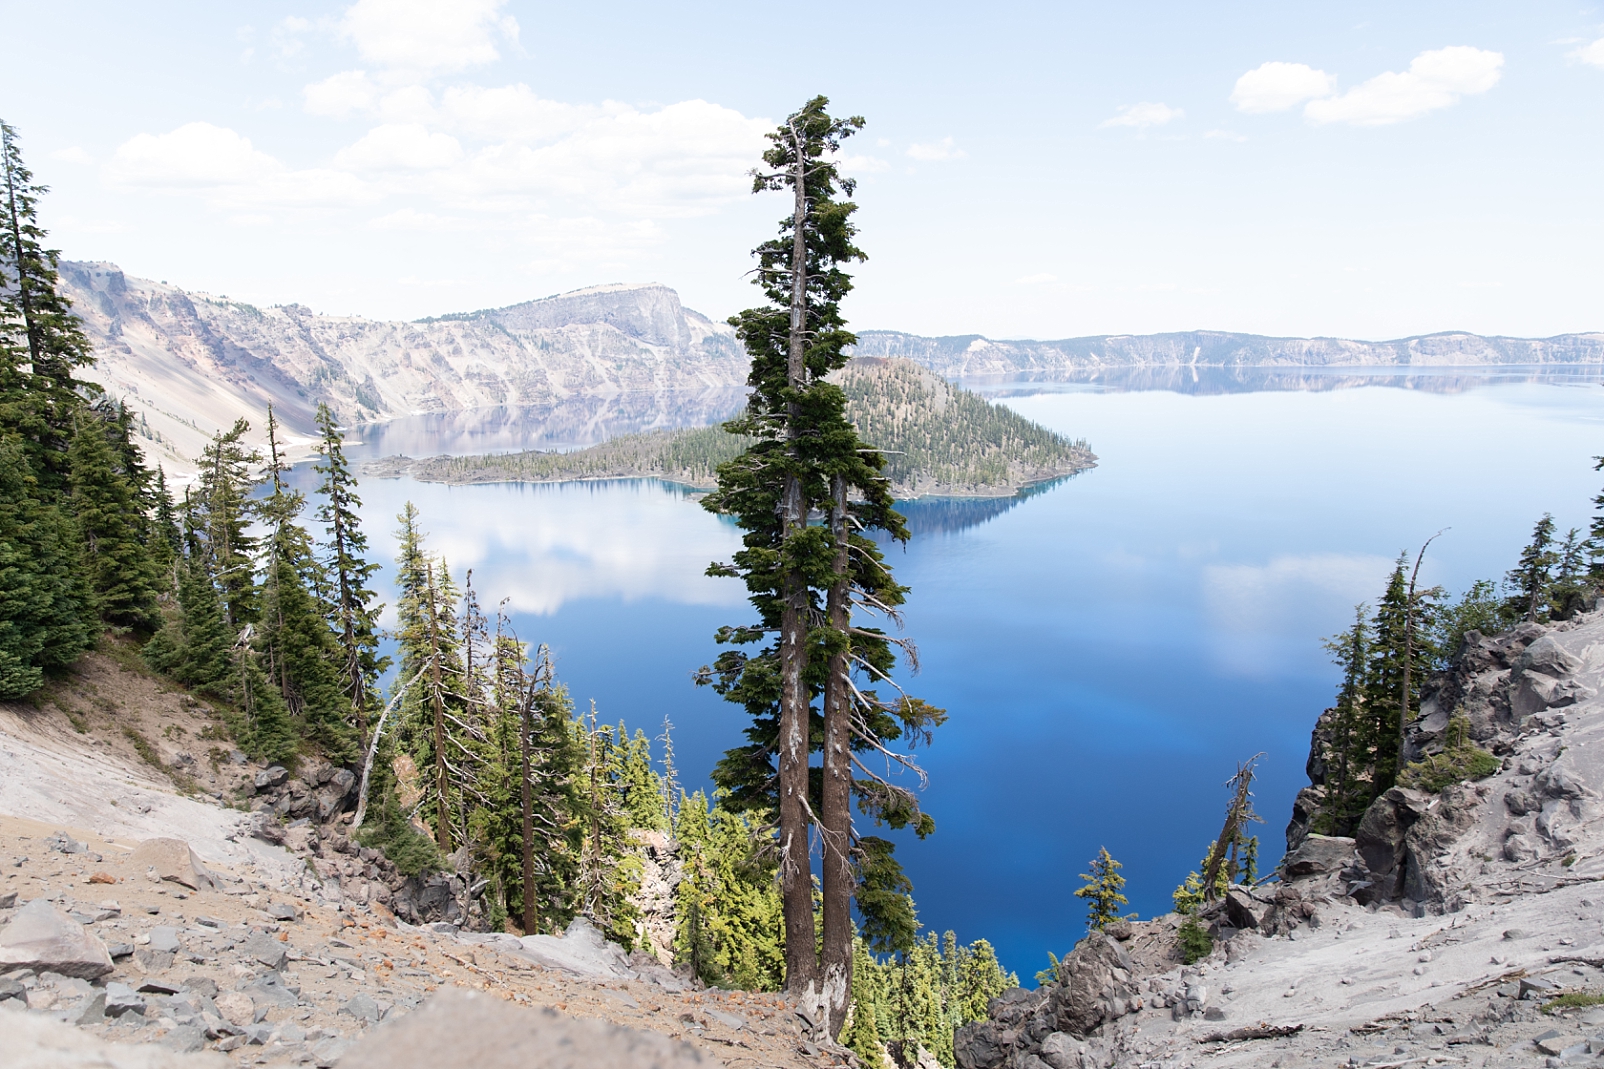
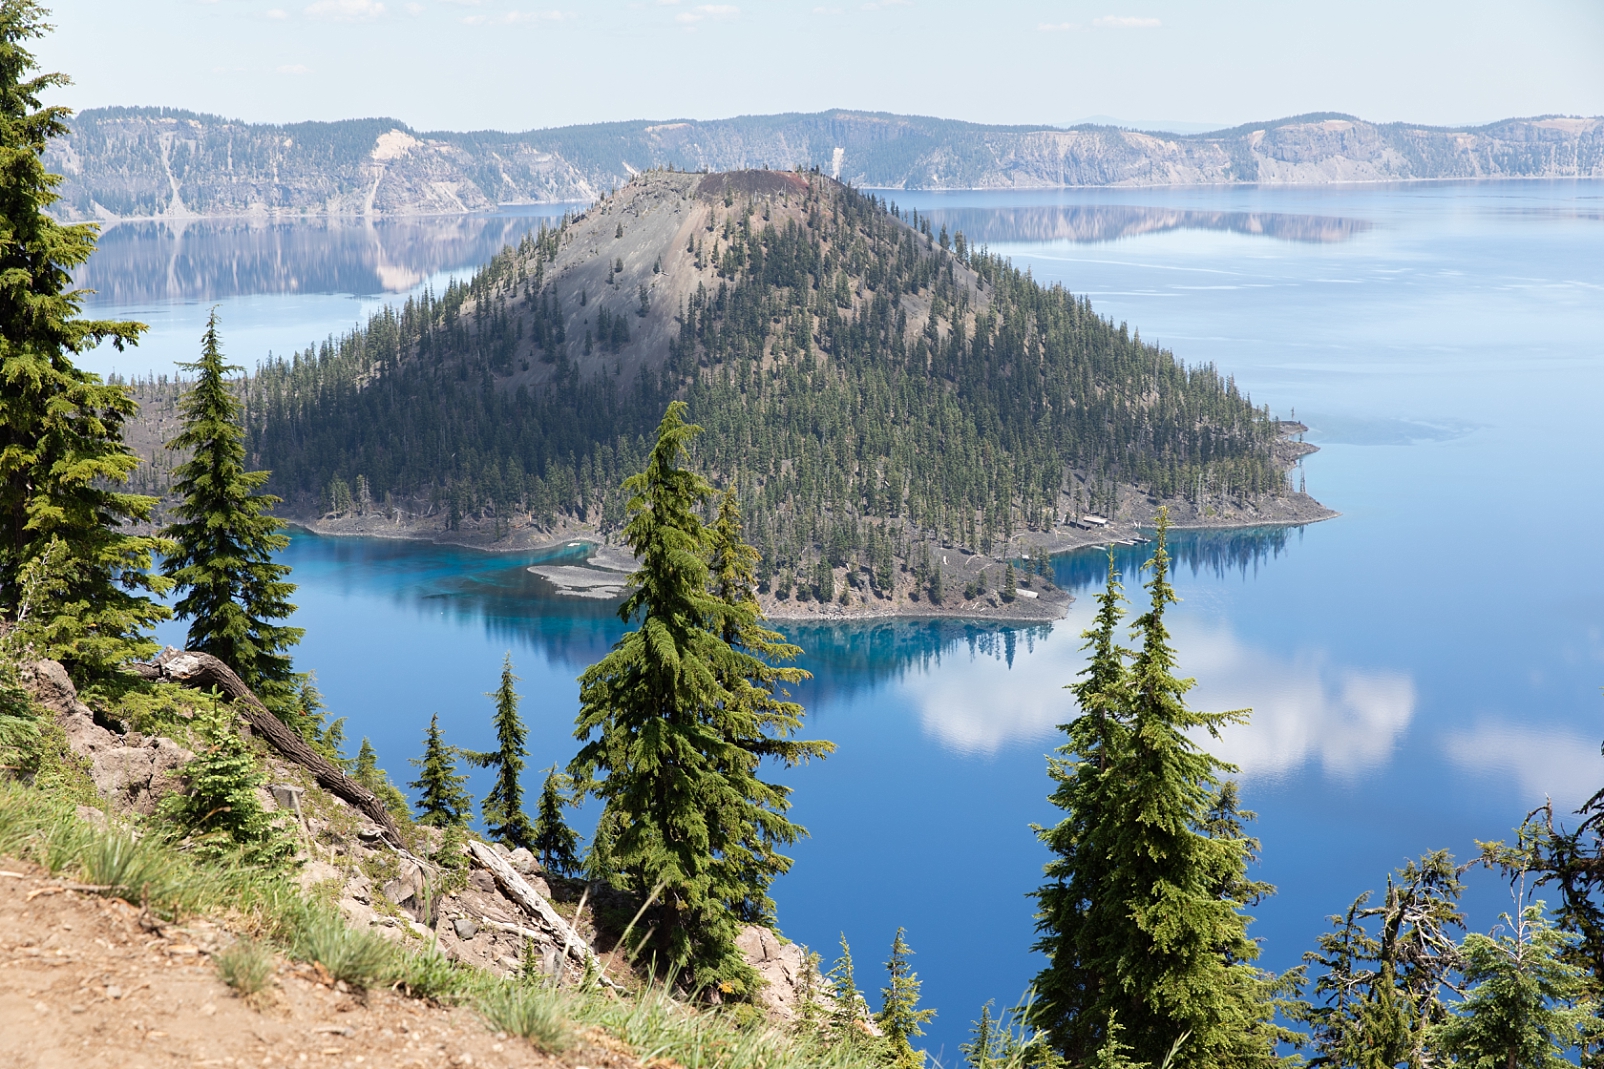
Once I have completed my edits, I want my images saved with detailed names, in detailed photos. I want to be able to find images easily later on. So if, for example, July 19, 2023 I took photos in Crater Lake, I am naming the travel photos with that info. Then I save the images to a folder in the same spot with the date and the location name. That way, when I go to print my photos or I want to find something later, I know exactly what will be in the folder.
The folder will say, “Crater Lake July 19, 2023” and the images will be named, “July 19 2023 Crater Lake-1.jpg.” And the numbers will go up in sequence. You could shorten the names to just the location or the date, but since I spend more than one day in a location, I like to have both details attached.
What to do with Your Photos
Photobooks or Albums
I make photobooks each year with all of my family photos. But for special vacations, I like to make a photobook with just those images. When I create the page layouts, I want to keep images in chronological order for the most part. It is okay to move some images out of order if necessary, but I don’t want to mix images from different dates. That is where my photo names come in handy. Organizing travel photos makes the process easier.
Scrapbooking
I also print loose photos to use for my travel scrapbooks. I like to collect post cards, ticket stubs, and other flat items to use in my travel journal for each vacation. Would you like to see some of my work? I will be sharing my travel journal process in a future blog post.
How to Organize Your Travel Photos
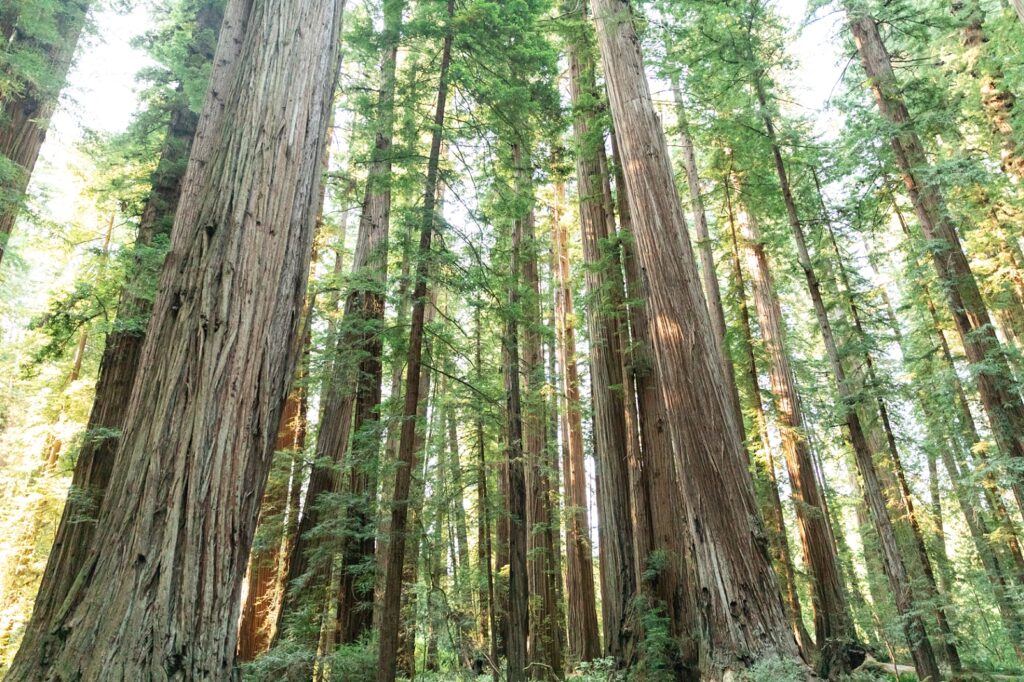
One of the best parts about taking high quality travel photos with a DSLR or mirrorless camera, is how they can be used after your vacation. The larger file size is perfect for printing for various uses. Your images could be framed, printed in an album, or used in your scrapbook. You could add your images to a slideshow set to music with songs relating to your trip. If you are reading this post on how to organize your travel photos, then you might be someone who likes to travel with your family. Read this post here for tips on packing for vacation with kids.
America the Beautiful Pass
Did you know that if you plan to visit the National Parks in the United States, that the America the Beautiful Pass is the way to go? Make to sure to order one online or pick it up at stores, such as REI. You’ll want a hangtag for your car rearview mirror. I recommend buying the pass about a month before you leave for your trip, as it will expire one year from purchase. So purchase it close to your trip start date, but if you are having it mailed, maybe allow a few weeks at a minimum. Your name will be added to the pass and you’ll present the pass for entry into the National Parks.
Rebecca Leigh Photography is a newborn, baby, and family photographer located in Maryland.
